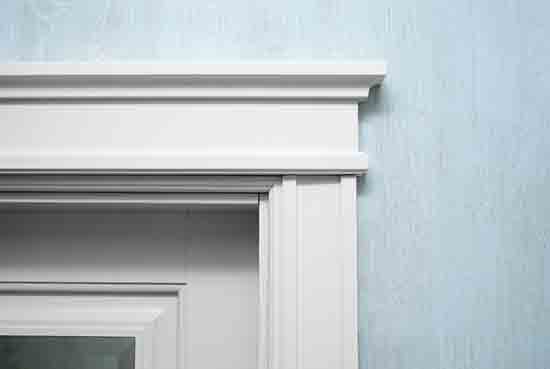
The jamb is a common door and window trim that provides support for the wall. It also acts as a decorative element to cover the joints between two different materials, such as plaster and brick.
Jamb covers are often made of stone, but they can be made from any material and can be embellished with elaborate designs or patterns. The most commonly used types of jamb in modern construction include wood, aluminum, vinyl-coated steel, fiberglass insulation board, and PVC plastic.
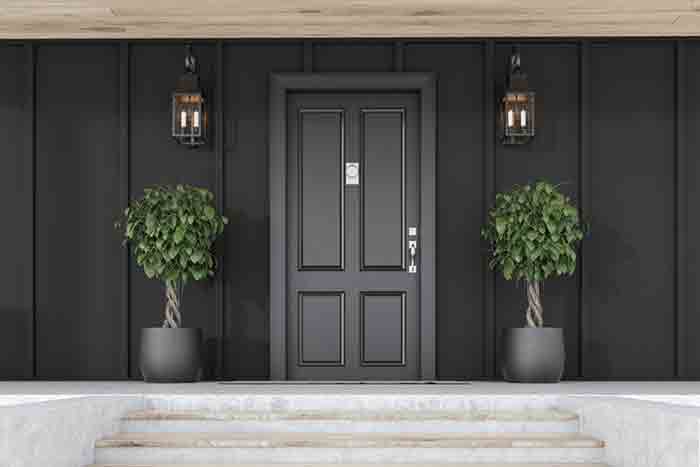
If you have a door that doesn’t close properly and is either too tight or too loose, it may be time to replace the old jamb. This can be done by removing the old jamb and replacing it with a new one, go to this article for more.
The Tools Required For This Project
Tools required for this project:
- Utility knife or saw,
- Jamb trim (1),
- Caulk (or silicone caulk and sealant),
- Screws (at least 12),
- Hinges (2),
- Screwdriver ,
- Latch and strike plate.
Steps to Replace Exterior Door Jamb
To replace an exterior door jamb, there are a few steps to follow, including:
Step 01: Mark off Bad Sections
The first step is to mark off the area you want to fix or replace. You can use a pencil and ruler for this task. Be sure to make note of the height, width, and depth of the door jamb.
Step 02: Remove the Bad Portions of Door Jamb
Once you have marked off the bad sections of the door jamb, use a saw to cut out those pieces. Be sure to wear goggles and gloves during this process to protect your hands and eyes.
Step 03: Cut New Jamb Pieces
Once you have removed the old jamb, take your measurements and cut the new jamb pieces to size.
Step 04: Drill Pilot Holes
Use a drill and wood screws to drill pilot holes, this helps hold the new door jamb in place.
Step 05: Install Jamb Pieces
Once the pilot holes are drilled, carefully install the new jamb pieces using the screws. Be sure to have someone help you hold the jamb in place while you install it.
Step 06: Touch Up Paint and Caulk
Once the jamb is installed, touch up any paint that may have been chipped or scratched and use caulk to seal any cracks or openings.
Step 07: Fill in Gaps
If there are any gaps between the door and the jamb, you can fill them in with weather stripping.
Step 08: Fill Screw Holes
If you have any screw holes from the old jamb, you can fill them in with wood putty.
Step 09: Sand and Paint
Once the putty is dry, sand it down and paint the door jamb to match the color of your door.
Step 10: Test out Your Work by Opening and Closing Your Door
When you have finished, test out your work by opening and closing your door. Make sure that it swings freely and doesn’t stick. If it does, you may need to sand down the trim or make some adjustments to the screws.
Now that you know how to replace an exterior door jamb, you can do it yourself with ease. Be sure to take your time and follow the steps closely to ensure a successful project.
The Importance of Door Jamb Replacement
Anyone who has had to replace a door jamb knows how important it is. Newer homes often have steel, vinyl, or fiberglass doors that are attached to the frame with hinges instead of jambs.
Older homes, on the other hand, tend to have wooden doors that are set in a rabbeted or stop-molded frame. The jamb is the part of the frame that surrounds the door and provides attachment points for hinges, doorknobs, and locks. It is also important for weather-stripping and insulation.
When a door jamb becomes damaged, it can be difficult to repair. If the damage is minor, you may be able to fix it with a little wood glue and some clamps. If the damage is more serious, you may have to replace the entire frame.
Replacing the door jamb is a time-consuming project, but you can do it yourself if you have some basic tools and know what to watch out for.
Safety for Replacing Door Jamb
One of the safety considerations for replacing a door jamb is not to forget about hazards such as power cords, which you should carefully avoid. The following precautions should also be taken:
- Do not attempt to attach the new piece until you have measured and cut it in a correct way
- As described above, assemble the trim on the ground before attaching it to the door frame
- Use screws that are very strong and long enough to go into the trim and reach at least halfway through it
- Avoid working alone in case you should injure yourself while replacing the jamb
- If there’s a molding to be removed, use a drill and remove hardware slowly and carefully so as not to damage the wood or metal around it
- Be sure to wear protective glasses and gloves when cutting and drilling work is involved
- Replace the door jamb in a way that allows the door to open and close properly
- Do not forget about weather stripping, if it’s needed for making your house secured against water leakage.
Conclusion
If you’re replacing an exterior door jamb, the process is relatively simple. We have mentioned the basics of the process above the article, but if you have any questions, feel free to consult a professional.
Remember to always take your time and be careful when working with tools. The most important part of the process is ensuring that the door jamb is properly installed and sealed, so it can protect your home from the elements. We hope you found this article helpful.